Fresh Flush
The cheeks are the whole look. 3 steps, roughly 7 minutes, rated easy.
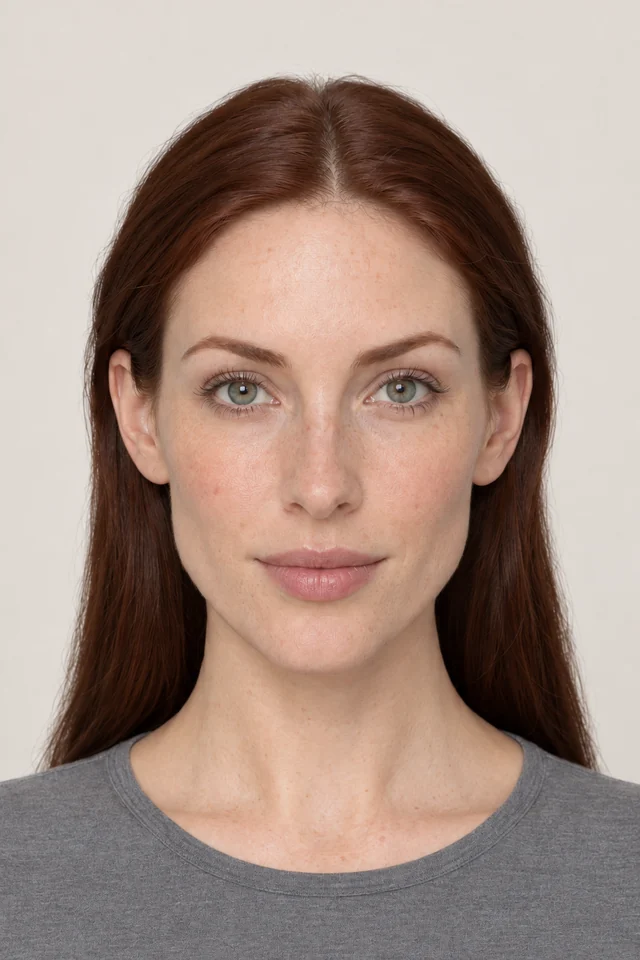
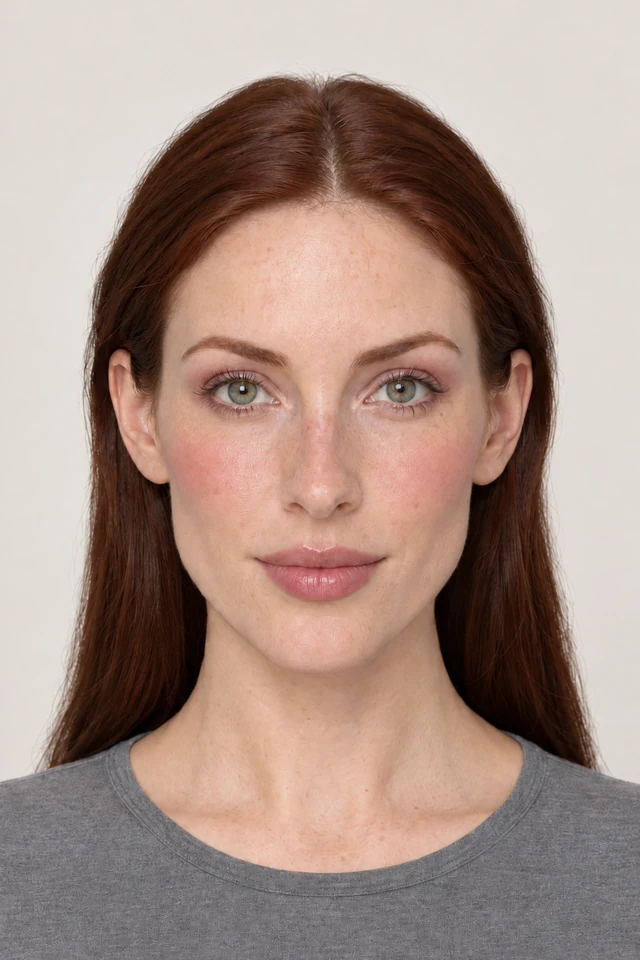
Drag to compare
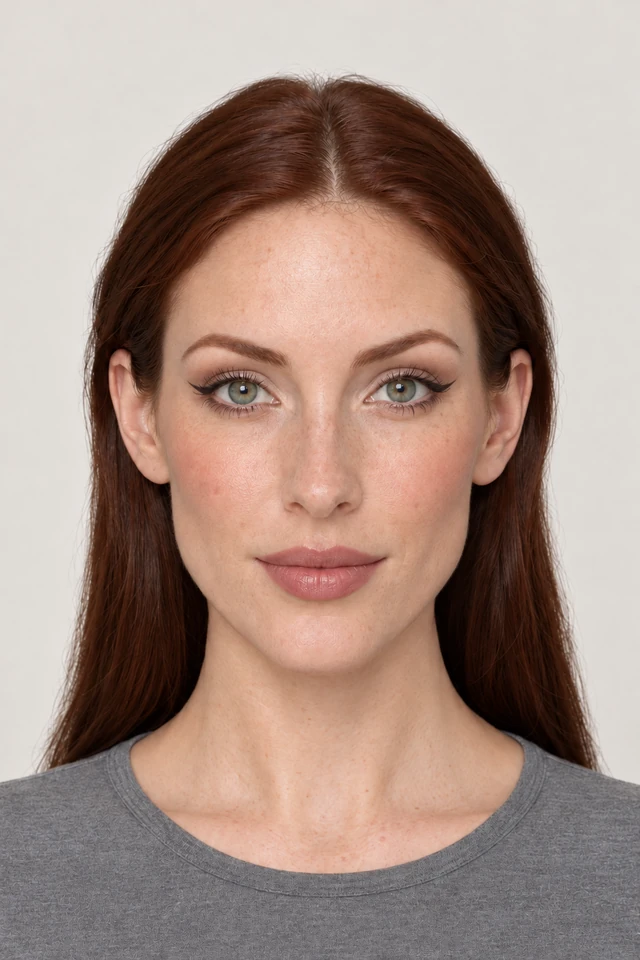
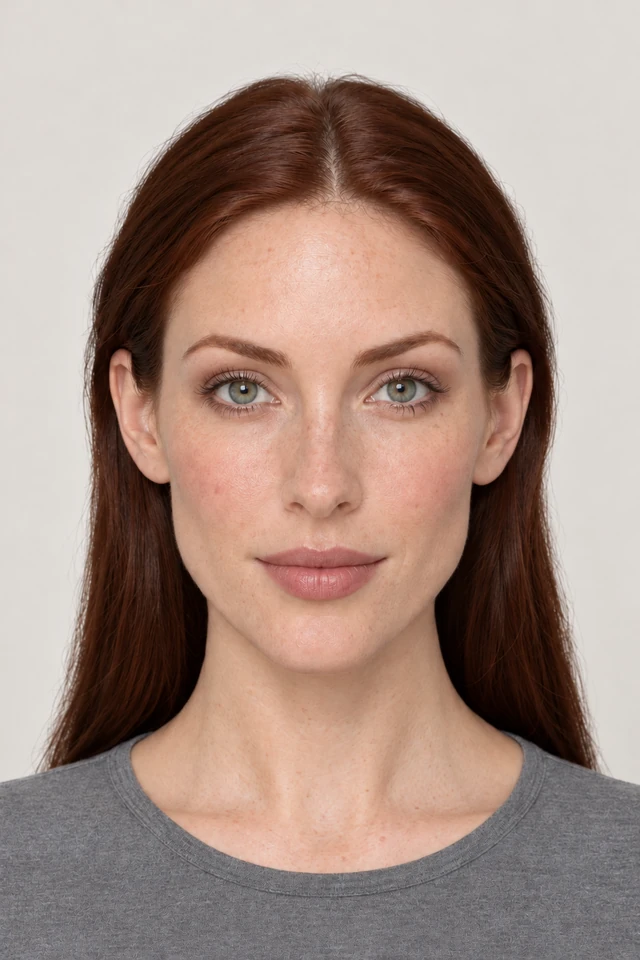
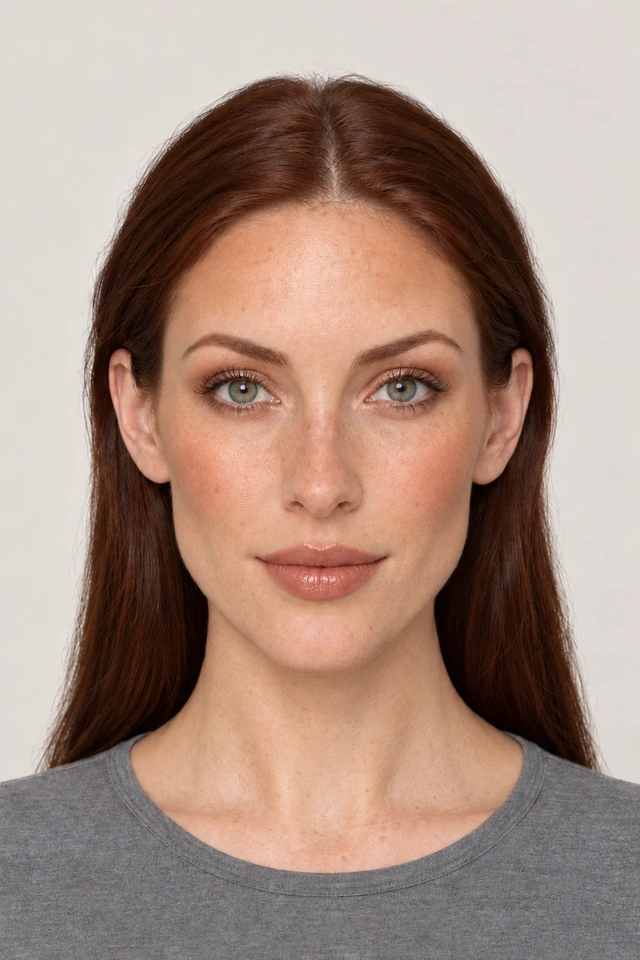
Blush-forward faces have taken over for a reason: a strong flush reads as health, and health reads as youth far more reliably than contour does. The rest of the face steps back so the cheeks can be loud.
What you will need
- A light base
- Cream blush in a rosy pink
- A powder blush in the same family
- Clear brow gel
- A matching lip tint
No specific brands. Any brand's version will work the same way.
Place it on the apples, then higher
Smile, tap cream blush right onto the roundest part of the cheek, then carry a little up and out toward the temple so the colour has somewhere to travel.
Tip
A dot on the bridge of the nose ties the two cheeks together and is what makes it read as a flush rather than as two circles.
Layer powder over cream for staying power
Dust a powder blush in the same family directly over the cream. The powder locks the cream down and the two together give a depth neither manages alone.
Tip
Build in two light passes. Blush is the easiest product to overdo and the hardest to remove once it is on.
Keep the eyes almost bare
Brow gel, one coat of mascara, nothing else. Then a lip tint that echoes the blush so the whole face reads as one flush.
Tip
If you want the eyes to do something, take the same blush lightly across the lid. Monochrome is the point.
See it on your own face first.
Two minutes of questions, one optional photo, and this look gets rendered onto your own colouring before you spend anything.
Common questions
Higher and further back lifts a rounder face; closer to the apples softens a longer one. As a rule, if you want lift, keep everything above an imaginary line from your nostril to the top of your ear.
Check it in daylight rather than bathroom light. If you can see where the colour starts and stops, it needs blending rather than removing.