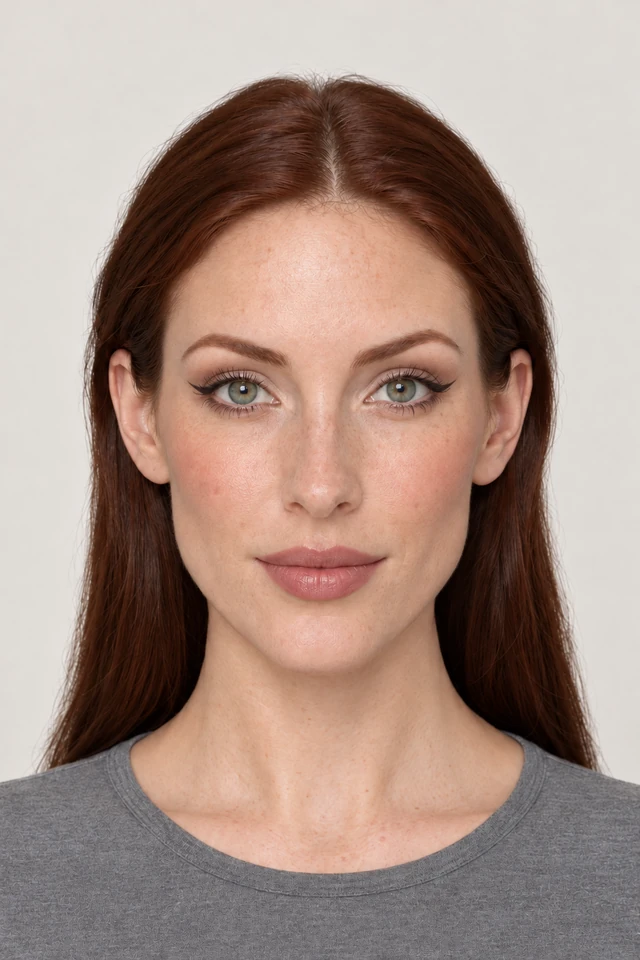
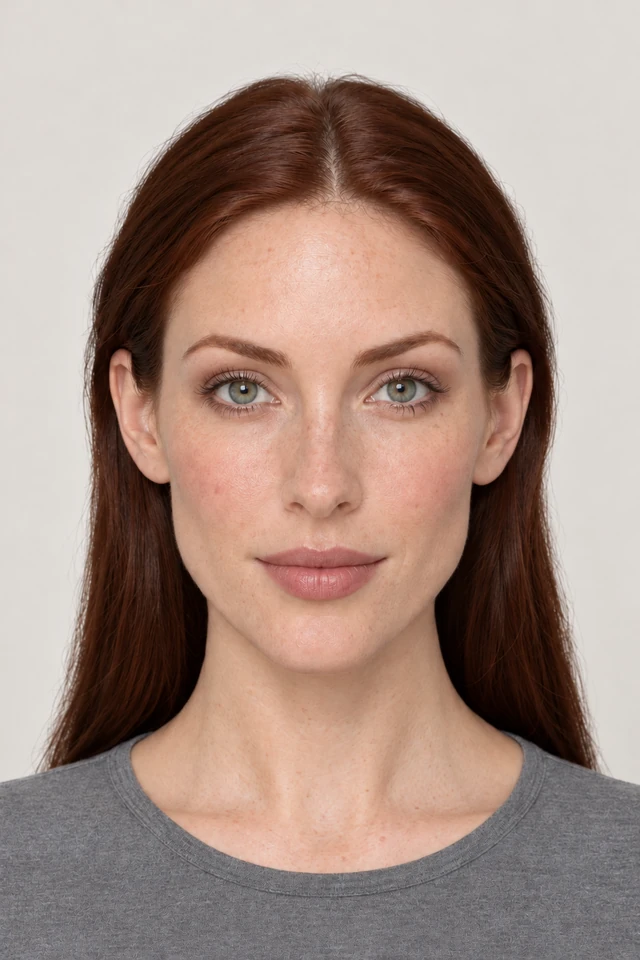
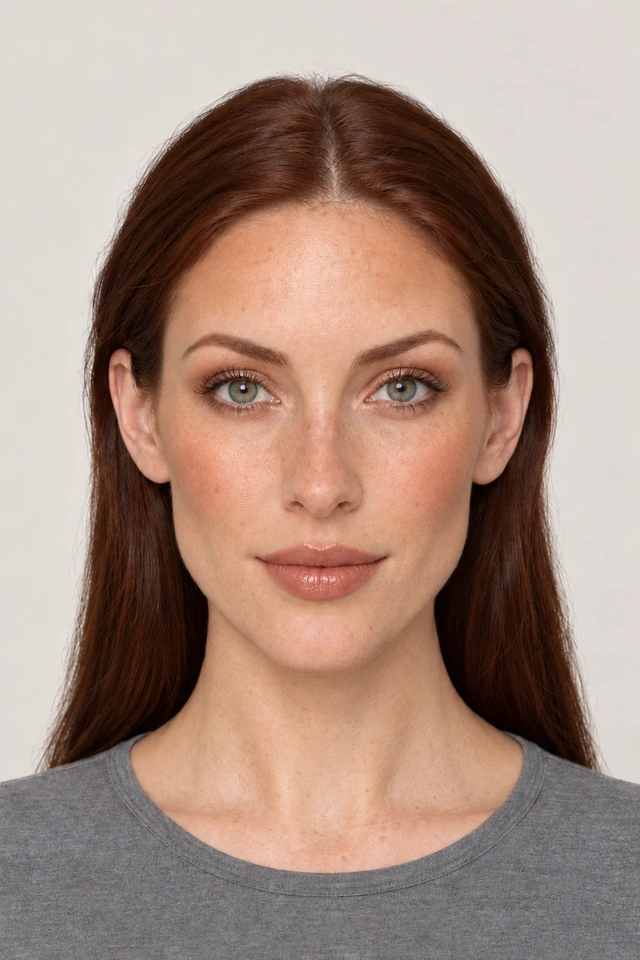
Lifted Eye
Every edge angled up and out. 3 steps, roughly 12 minutes, rated moderate.
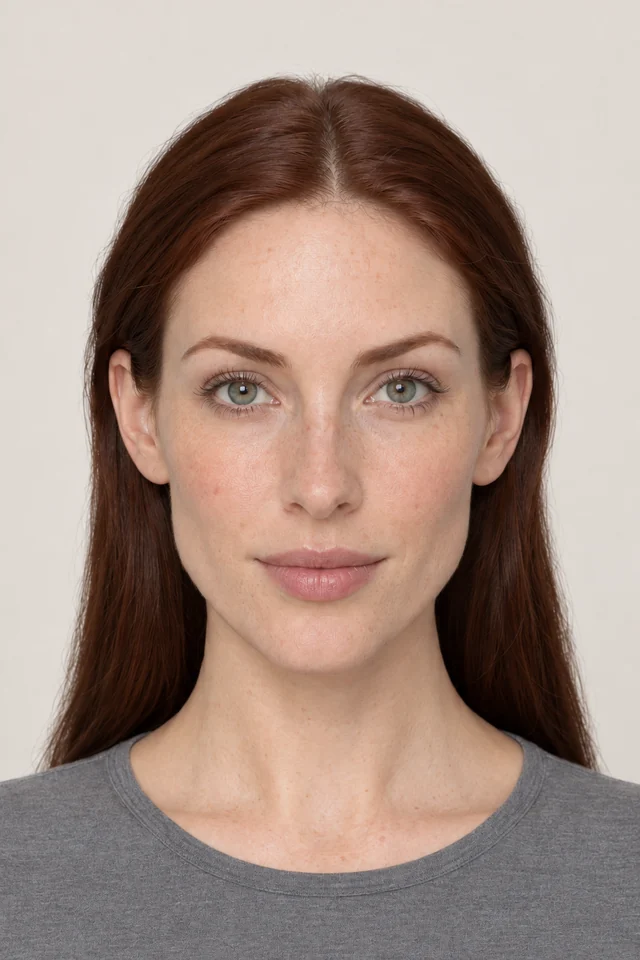
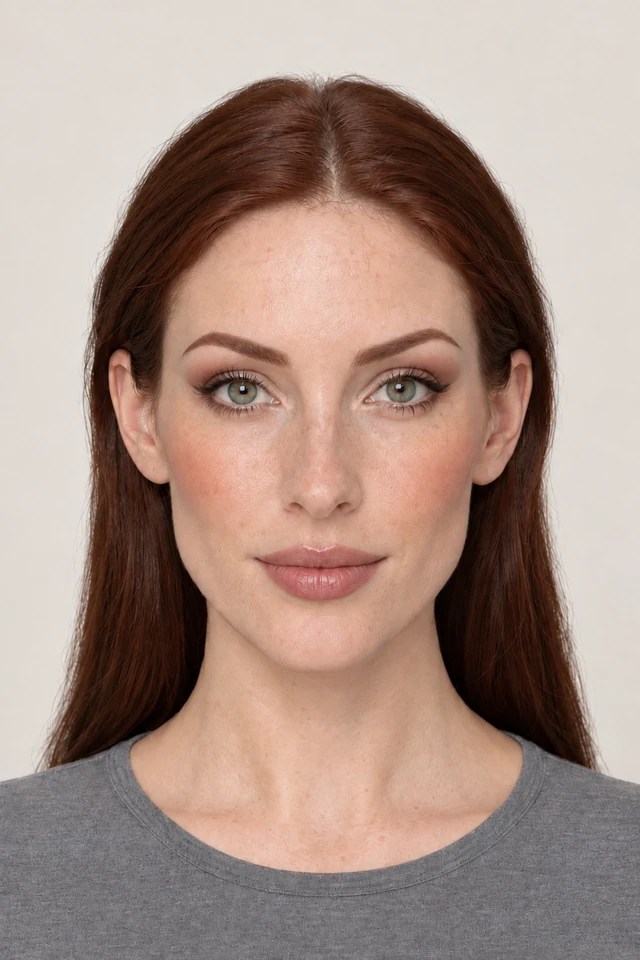
Drag to compare
Lifting is direction, not product. Every edge on this face travels up and out, and the cumulative effect of four small angle changes is far larger than any single one of them.
What you will need
- A neutral shadow duo
- An angled blending brush
- Gel or pencil liner
- Concealer for cleaning edges
- Mascara
No specific brands. Any brand's version will work the same way.
Blend diagonally, never straight up
Take your crease shade and sweep it toward the tail of your brow rather than toward the ceiling. That diagonal is the whole technique.
Tip
Point your brush handle down toward your chin. It forces the diagonal without you having to think about it.
Weight everything outward
Keep the inner half of the lid bright and put every deep shade in the outer third, including on the lower lash line, which should be bare for its inner two thirds.
Tip
Darkness at the inner corner drags the eye down. Leave that area alone entirely.
Clean a sharp angle underneath
Run concealer on a flat brush from the outer corner up toward the brow tail, cutting a crisp diagonal edge under everything you just blended.
Tip
That clean line is what makes the lift visible. Without it the blending just looks soft rather than directional.
See it on your own face first.
Two minutes of questions, one optional photo, and this look gets rendered onto your own colouring before you spend anything.
Common questions
It is the single most effective thing for them. Keep the lower lash line completely bare at the outer corner and take the liner tail higher than feels natural.
Aim at the end of your brow, not at your temple. Past the brow tail it stops reading as lift and starts reading as a costume wing.