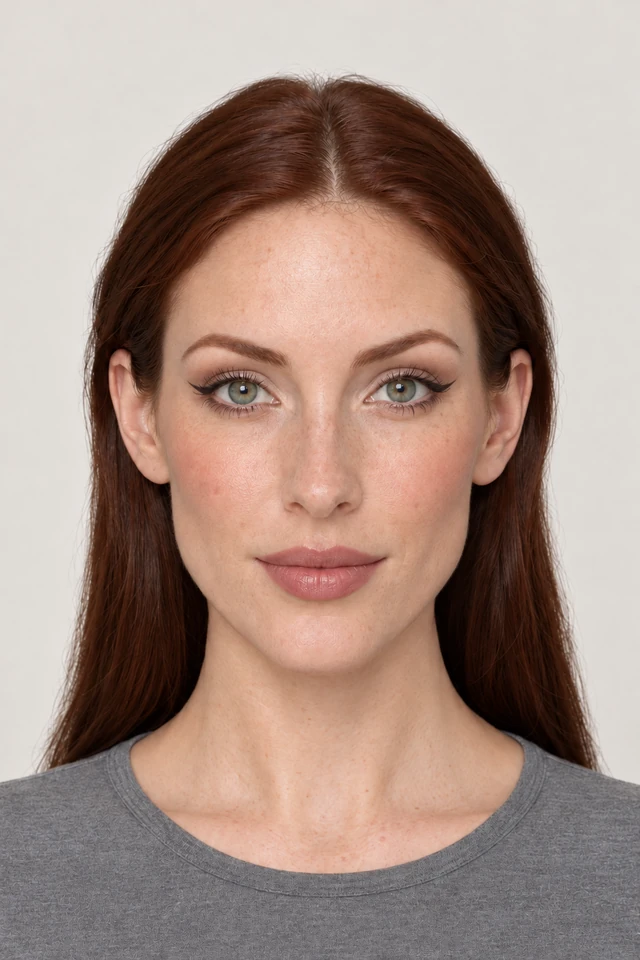
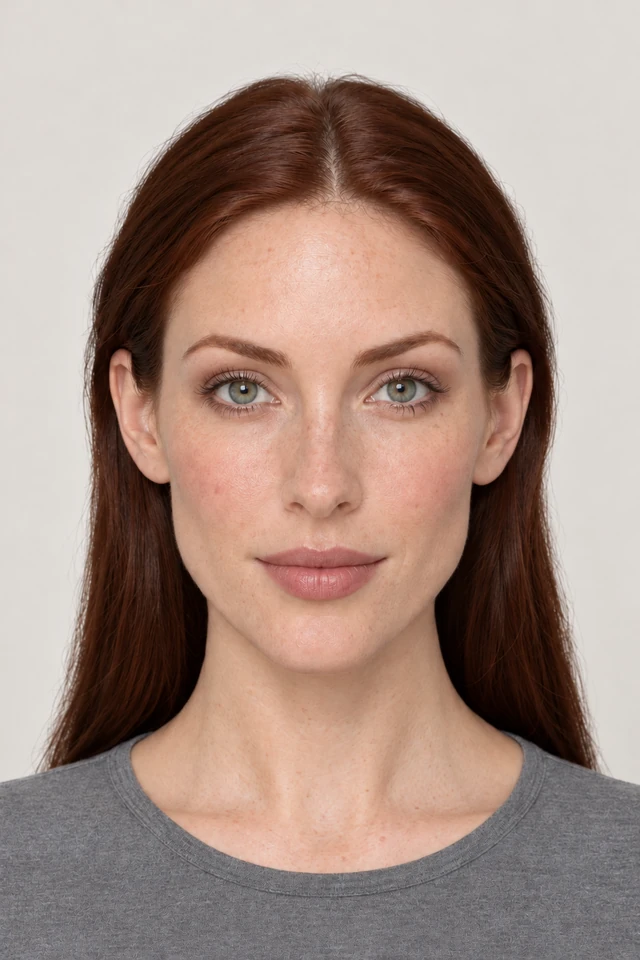
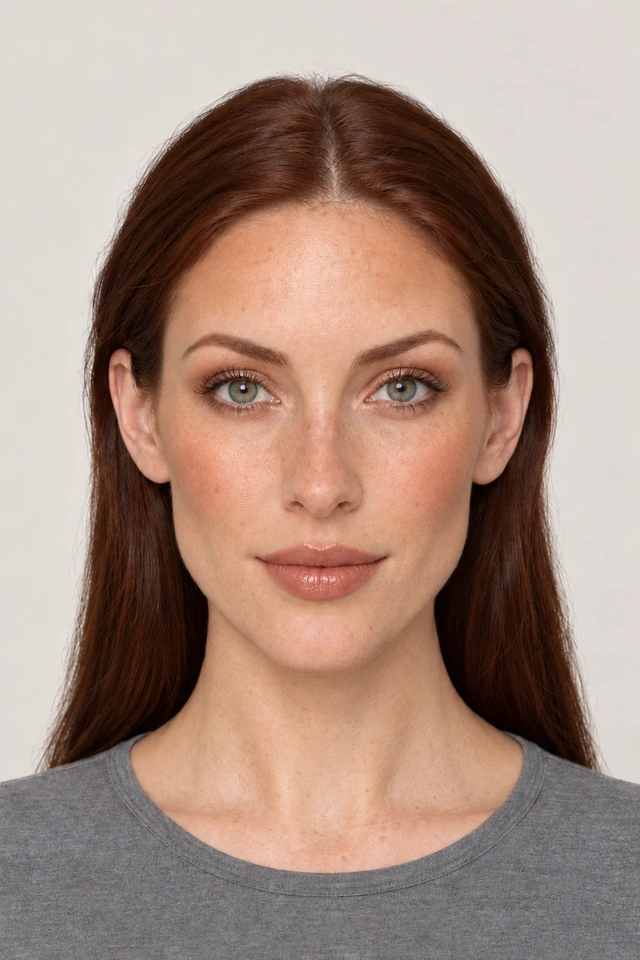
Underliner
A graphic line below, nothing above. 3 steps, roughly 8 minutes, rated moderate.

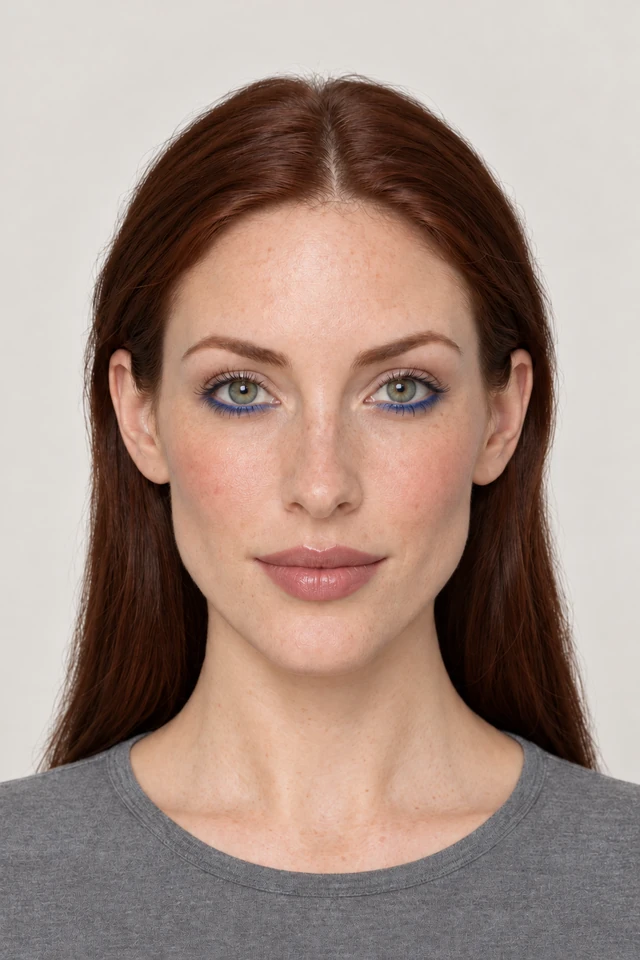
Drag to compare
All the graphic interest sits under the eye, which makes it feel modern in a way a wing no longer quite does. It also takes half the time, because a line drawn below the eye is far easier to control.
What you will need
- A coloured liquid or gel liner
- A fine brush or felt tip
- Concealer
- Clear brow gel
No specific brands. Any brand's version will work the same way.
Draw below the lashes, not on the waterline
Place the line a millimetre or two beneath your lower lashes, following their curve, and keep it even from inner to outer corner.
Tip
Rest your elbow on a hard surface. Below-eye lines expose an unsteady hand far more than upper ones.
Choose colour over black
Cobalt, plum or white all read as deliberate. Black below the eye can look like yesterday's makeup rather than today's decision.
Tip
Pick a colour that contrasts your iris rather than matching it. Matching disappears at any distance.
Leave the upper lid completely bare
Groomed brows, no upper liner, and either no mascara or the barest coat. The restraint above is what makes the line below register.
Tip
Clean the line's outer edge with concealer on a flat brush so it ends crisply rather than tapering off.
See it on your own face first.
Two minutes of questions, one optional photo, and this look gets rendered onto your own colouring before you spend anything.
Common questions
Only if it sits on the waterline. Placed just below the lashes with a clear gap, it does the opposite and makes the eye look wider.
A soft white or cream is the most wearable entry point, and it brightens the whole eye. Move to cobalt or plum once you are comfortable with the placement.